AI content creation for social media is reshaping how small teams get noticed. You no longer need a huge crew to pump out posts that feel fresh and on‑brand.
Imagine you have a new product launch next week. You need a blog, a tweet thread, an Instagram carousel, and a LinkedIn article. Instead of scrambling, you tell an AI tool the key points. It spins out a short post, a longer article, and a few catchy captions in minutes. You can then tweak any line before it goes live.
Most digital marketing managers find the biggest hurdle is keeping the content flow steady. A practical way to beat that is to set up a rolling content calendar that pulls ideas from keyword research and then auto‑generates the first draft. When the draft lands in your inbox, you just add a personal touch and schedule it.
Platforms like AI social media content generator make this workflow feel natural. They link the AI output to your publishing tools, so the post appears on the right platform at the right time without extra clicks.
Here’s a quick three‑step starter you can try today: 1) List the main topics you want to cover this month. 2) Feed each topic into the AI generator and ask for a short post, a longer article, and a set of hashtags. 3) Review, add a personal anecdote, and push to your scheduler.
Even if you’re just testing the waters, you’ll see a boost in consistency. For more ideas on making events pop, check out Photo Booth Rental Murrieta: A Complete Guide for 2026 Events.
Step 1: Define Your Social Media Goals
Before AI starts writing posts for you, you need a clear target. Without a goal, the tool just spits out stuff you’ll never use.
Ask yourself what you really want to move. Is it more followers, more clicks to your site, or more sales from a new product launch? Pick one or two top goals so you don’t spread your effort thin.
Write those goals down in plain language. For example, “grow Instagram followers by 15% in three months” or “drive 200 qualified clicks to the product page each week.” The clearer the phrasing, the easier AI can match its output.
Next, tie each goal to a metric you can track. Use the numbers that matter to you – engagement rate, link clicks, conversion rate. When the metric is set, you can later see if the AI content is actually helping.
Here’s a quick checklist you can copy:
- Choose 1‑2 main goals.
- Write each goal as a simple sentence.
- Assign a specific KPI (percent, number, or rate).
- Set a realistic time frame.
Tip: many small‑team marketers find that starting with a KPI like “average engagement per post” gives a fast win and builds confidence.
Once your goals are set, you can feed them into the AI engine. The system will then shape ideas, headlines, and captions to hit those numbers.
Need a deeper dive on how to turn goals into a rolling plan? Check out our Social Media Content Automation guide for a step‑by‑step walk‑through.

Step 2: Choose the Right AI Tools
Now that you know what you want to hit, the next move is picking the tool that will actually get you there. It’s not about the flashiest logo – it’s about fit.
First, write down the exact jobs you need the AI to do. Do you need it to write short captions, draft long‑form posts, or spin a video script? List each task on its own line. That list becomes your checklist when you compare tools.
Second, look at how each tool learns from you. Some let you feed brand guidelines, tone, or a few example posts. Others just guess. If you can upload a few of your best posts and see the AI match the style, that’s a good sign.
Third, test the free tier. Run the same prompt on two tools and compare the output. Ask yourself: does the copy sound like you? Does it hit the KPI language you set in Step 1? If the answer is no, move on.
Fourth, think about where the tool will land in your workflow. Does it push straight to your scheduler? Can it pull data from your CMS? A tool that plugs into your existing stack saves a lot of manual steps.
Fifth, weigh cost vs. output. Some tools charge per word, others per month. Pick the plan that lets you stay under budget while still giving you enough credits to keep the content engine humming.
Finally, don’t forget the human check. Even the best AI can slip up on brand quirks. Build a quick 5‑minute review slot before any post goes live.
When you’ve narrowed it down, you might want a deeper dive on how to set up automation. Check out Automate Social Media Posting and Reclaim Your Time for a step‑by‑step look.
For a different kind of inspiration, you can explore the Photo Booth Rental Murrieta guide. It shows how event planners pick the right gear to boost engagement – a mindset you can apply to tool selection.
And if you need tips on making any visual element stand out, the Mirror Photo Booth Rental tips page breaks down what makes a setup memorable, much like a good AI output should be.
Step 3: Create & Optimize Content with AI
Now that you have a tool, it’s time to turn ideas into posts that feel real. First, feed the AI a clear prompt: the goal, the audience, a brand tone note, and any key phrases from your KPI list. The AI will spit out a rough draft in seconds.
Next, run a quick 5‑minute human edit. Look for brand quirks, add a personal story, and swap any vague phrase for something specific. This step keeps the voice honest and the copy on‑point.
Step‑by‑step checklist
- Write a short brief (goal, tone, keyword).
- Generate draft with the AI.
- Edit for brand, add a hook, trim fluff.
- Run SEO check – make sure the primary keyword appears naturally.
- Schedule via your calendar tool.
Want a deeper dive on how to edit AI drafts fast? Check out How to Maximize Efficiency with an AI Driven Content Creation Tool for a step‑by‑step walk‑through.
Optimization tricks
Use AI to suggest a few hashtag sets, then pick the ones that match your audience’s slang. Ask the AI to rewrite a line in a different voice and compare – you’ll spot the best fit faster.
According to Florida Realtors on AI for social media, automation can lift engagement when you keep the human touch. And Optimizely’s guide notes that mixing AI drafts with manual tweaks improves both speed and quality.
Quick comparison table
| Task | AI role | Human tweak |
|---|---|---|
| Idea generation | Suggest topics and angles | Select the ones that fit your goal |
| First draft | Write copy in seconds | Adjust tone, add anecdotes |
| SEO polish | Insert keyword, meta tags | Check readability, remove filler |
For a fun break, you can peek at Your Complete Guide to Photo Booth Rental San Diego – it shows how event pros pick gear to boost engagement, a mindset you can copy for visual posts. Likewise, Photo Booth Rental for Graduation Party: A Step‑by‑Step Guide walks through budgeting and set‑up, ideas you can adapt to your social media visuals.
Step 4: Schedule, Publish, and Analyze Results
Once your drafts are polished, the real magic starts when you let the AI handle the timing.
Pick a rhythm that matches your audience. Some teams post twice a day, others batch three times a week. The key is consistency, not chaos.
Does your calendar feel like a mess? Grab a simple scheduler – even a Google Sheet can do – and map each post to a date and time slot.
Now drop the schedule into your publishing tool. Most AI platforms push the final copy straight to Buffer, Hootsuite, or any app you link.
Watch this quick walkthrough that shows how a calendar syncs with a scheduler.
Notice how the video flips the manual steps into a one‑click action. That's the point: you set it up once, then the system fires the posts while you sip coffee.
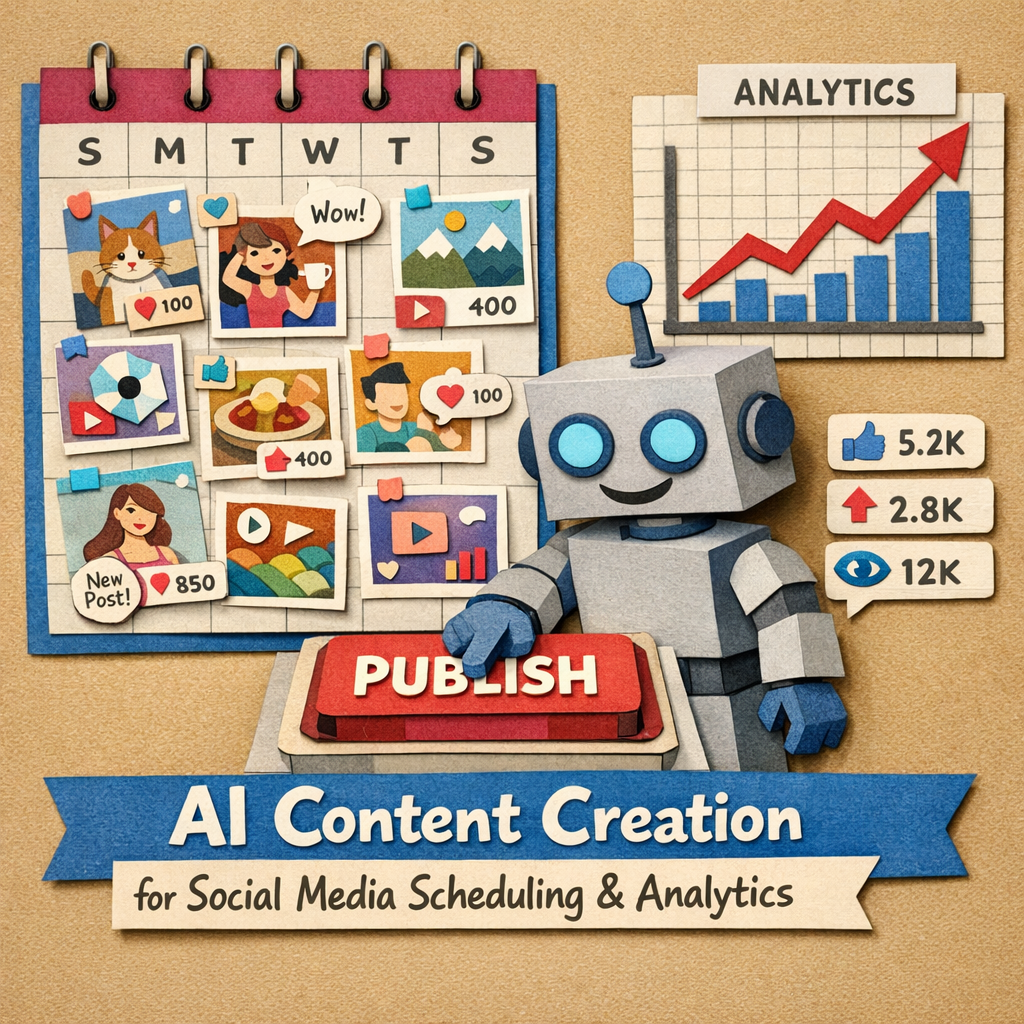
After the posts go live, it's time to see what sticks. Pull the engagement numbers from your dashboard – likes, comments, click‑throughs – and match them to the KPI you set in Step 1.
If a tweet spikes, note the time and the prompt you used. If an Instagram carousel flops, tweak the hook or the visual next round. The data loop keeps the AI learning what your crowd loves.
For deeper insight, check out this guide on social media management tools that break down analytics features you can automate.
And if you want a simple ROI formula, Improvado explains how to turn raw metrics into a clear return figure social media ROI.
Set up an automated alert so you get a Slack ping whenever a post exceeds your average engagement rate. That way you spot winners fast and can boost similar content.
Remember to review the schedule weekly – a holiday or product launch can shift your timing, and a quick tweak keeps the flow smooth.
Bottom line: schedule, let the AI publish, then watch the numbers. Adjust, repeat, and your feed will feel like a well‑tuned engine.
Conclusion
You’ve seen how AI content creation for social media can turn a messy calendar into a smooth engine. Now you know the steps to set goals, pick tools, write, schedule, and check results.
The biggest win is letting the AI do the heavy lifting while you add the human touch that makes your brand feel real. A quick edit, a fresh hook, and you’re ready to post.
So, what’s the next move? Give your AI a clear brief, set a simple KPI, and schedule the first batch of posts this week.
Watch the numbers, tweak the prompt that didn’t work, and let the cycle repeat. In a few weeks you’ll see a steady rise in likes, clicks, and maybe even sales.
Ready to let your site become a content engine? Distribb can auto‑repurpose each article to LinkedIn, X, Instagram and more, so you spend less time posting and more time growing.
FAQ
What is AI content creation for social media and how does it work?
AI content creation for social media means a computer writes draft posts for you. You give it a goal, a topic, maybe a brand note. The tool spins out a short caption, a longer thread, even hashtags in seconds. You then read it, fix any odd phrasing, and schedule it. It saves time, but you still add the human touch that makes the post feel real.
How can a small team start using AI to make posts quickly?
If you run a team of three, start with a free AI writer that lets you type a quick prompt. List the main ideas you need for the week, then ask the tool for a tweet, an Instagram caption, and a LinkedIn snippet. Review each line, swap a word or two to match your tone, and drop it into your scheduler. In a day you’ll have a week’s worth of posts without burning out.
What are the best ways to keep the brand voice when AI writes the copy?
Keep your brand voice by feeding the AI a short style guide. Write three or four lines that show the tone you like, friendly, witty, or professional, and add a few sample posts. When the draft comes back, scan for words that sound too stiff or too salesy and replace them with the language from your guide. A quick 2‑minute check keeps the voice steady.
How often should I schedule AI‑generated posts for good results?
A good rule is to post when your audience is online, not just every hour. Look at your platform insights and pick the top two times each day, maybe 9 am and 6 pm. Use the AI to fill those slots with fresh copy, then let the scheduler release them automatically. If you see a dip, move the time a bit and test again.
How do I measure if AI‑created content is helping my goals?
Measure success by linking the AI post to the KPI you set in step 1. Pull the likes, comments, clicks, or sales numbers from your dashboard and compare them to the target you wrote down. If a post beats the goal, note the prompt you used—it's a clue what works. If it falls short, tweak the hook or the call‑to‑action and try again.
What mistakes should I watch out for when using AI for social posts?
Common mistakes include letting the AI run unchecked, using the same prompt every time, and forgetting to add a personal story. Those habits can make your feed feel flat. Keep a habit of editing each draft, change up the prompt language, and sprinkle a quick anecdote or a question that only you can answer. A little human tweak makes the AI output feel fresh.